EAB Navigate Progress Reporting
Overview
This page is here to help you complete early alerts for students in your courses. Early alerts can help students stay on track and get the support they need to be successful. The early alert system SF uses is called EAB Navigate. View a recording of a Navigate faculty training session and a recording of progress report completion anytime to help familiarize yourself with this tool.
Completing Early Alerts for Students
Faculty will receive a SF Outlook email letting them know to complete early alerts for each term and the deadline for these. Click on the link in the email to log into Navigate during this timeframe and complete early alerts for all relevant students.
Who should receive an early alert?
Students who are struggling need to get your feedback as soon as possible so they can make appropriate changes and be more successful. It is also a good idea to provide feedback and encouragement to students who are doing well so they keep up their good work. Please note that whatever comments and information are provided are considered part of students' records and can be accessed by others within the Navigate system.
To provide early alerts:
- Open the email and click on the link to log into Navigate
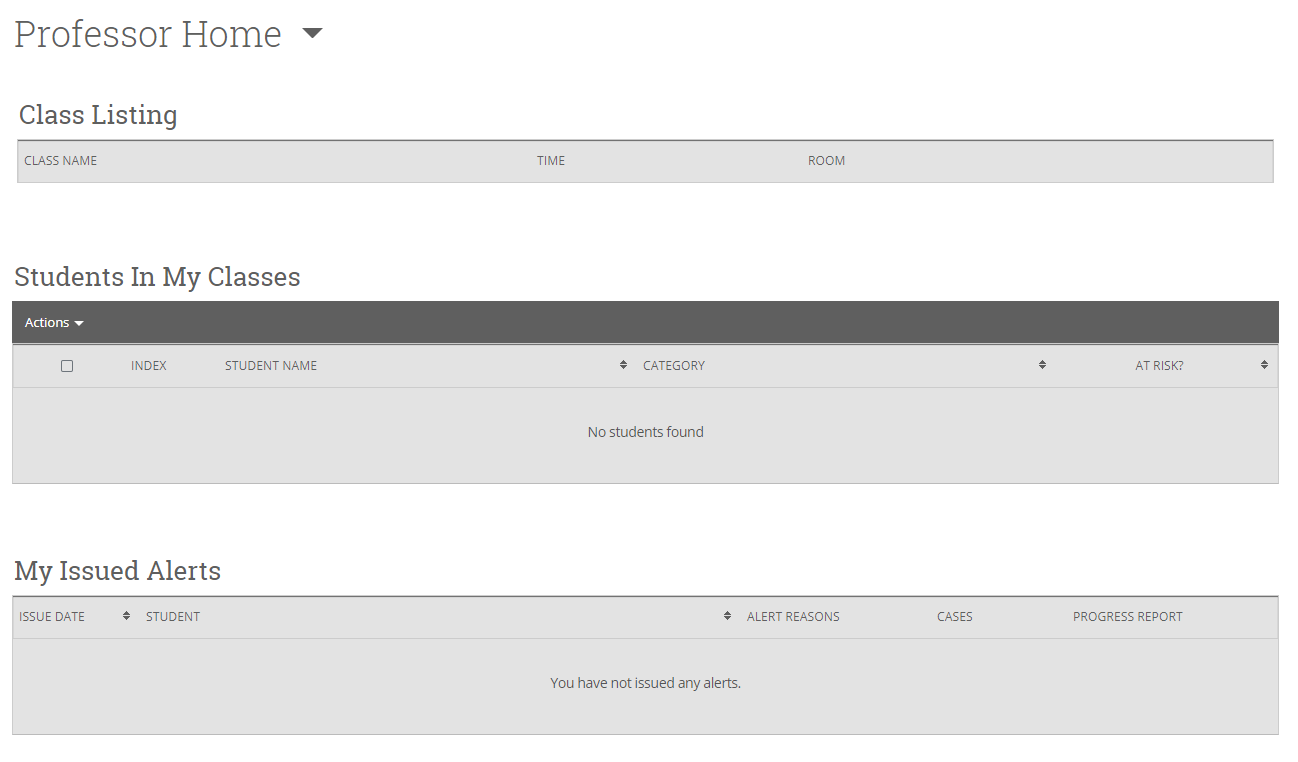
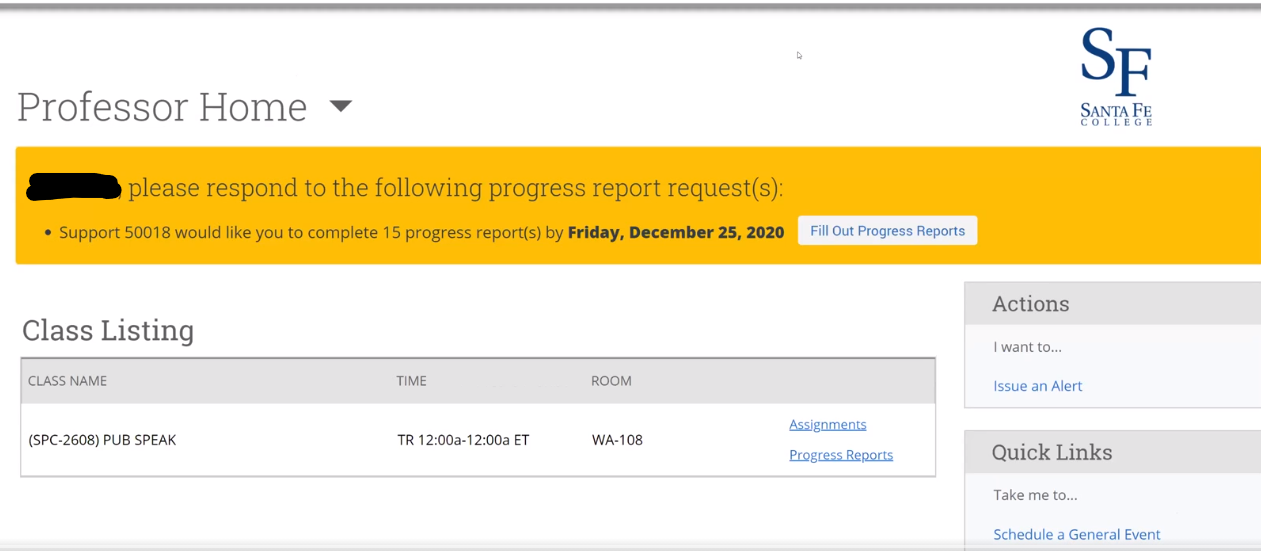
- When you are in Navigate, make sure you are on the Professor Home page (if you do not see this, click on the arrow next to Staff Home and select Professor Home)

- select the Fill Out Progress Reports button at the top of your screen

- Once you open a course, you need to complete reporting for students including if they are at-risk, what alert reasons are causing concern, the number of absences, their estimated current grade, and any additional comments you feel are useful. Students will not see the comments but will receive more general communications about their performance.

- All early alerts should be done during the timeframe requested. Early alert campaigns cannot be extended. If you miss the deadline, you will need to use the manual progress reporting function instead to provide students feedback.
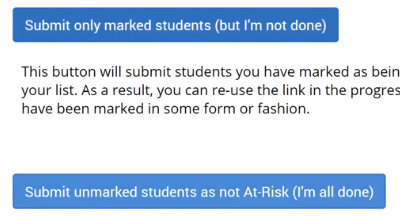
- Navigate does not allow you to save work in progress. If you want to submit some of your at-risk students at one time, click on the "submit only marked students (but I'm not done)" button. If you are not going to provide any comments for students who are doing well, you can click on the "submit unmarked students as not at-risk" button. You should also click on this button when you are done with all of your early alerts.

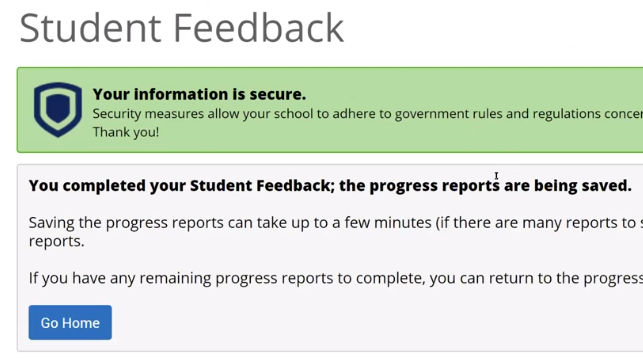
- Once you have saved your alerts, you should see a confirmation screen.

What do faculty do if they miss the early alert reporting window?
- Log into eStaff and then log into Navigate.
- Make sure "Professor Home" has been selected.
- Click on the Courses tab.
- Make sure the term box is set to the right term.
- Click on the "Progress Report" link on the same line as the class and section you want.
- In the Progress Reports screen's roster, click the checkbox next to a student's name
and then select "Create a New Progress Report" from the "Actions" header by clicking
on the triangular icon.
- TIP: You may file the same report for multiple students by selecting multiple checkboxes. If you select multiple students, the progress report filed will be recorded for each student selected.
- Fill out the progress information in the pop-up that opens. Complete reporting by clicking the "Submit Report" button.
If during your course you feel a student would benefit from additional alerts, you can always return to your Professor Home page and provide additional progress reports for these students.
If you need to access Navigate and cannot find your Outlook email, open eStaff and click on the menu option called Navigate to access this tool. You will also find the Navigate link in the Student Inquiry menu and the Academic Instructor menu.
System Information
Navigate has a full menu that runs on the left-hand side of the page as well as a quick access menu at the top of the page. From here you can access your unread messages (the envelope) and view your appointment queue (the people icon).
- At the top of the page is the Quick Search box. Use this to look for individual students as needed.
- The next option provides you with quick access to resources, support links, and a way to submit help tickets. Just click on the ? and then select the option you want.
- The final option (which displays your account photo) allows you to logout. Make sure to do this when you are done with each session.
Optional Appointments in Navigate
You can use Navigate to allow students to create appointments with you for office, phone, or virtual meetings. Before you do this, make sure your Outlook calendar is up-to-date with all of your appointments, classes, meetings, and times when you will be out of the office (college holidays, breaks, vacation, etc).
Quick Start Guide for Navigate(Opens in new window)
GETTING STARTED
- Log into eStaff using your SSO credentials and then log into Navigate
- Configure Availability and Calendar for Appointment Scheduling